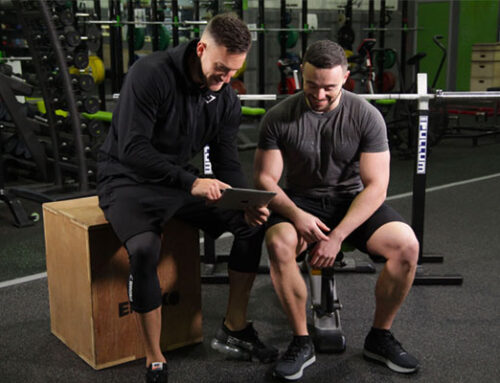
The Relative Strength Deadlift (RSD)
The Relative Strength Deadlift is a measure of load lifted relative to your bodyweight. In this advice article we will break down the entire movement step-by-step in order to perform the most technically ideal method of a deadlift for optimal strength.

Relative Strength Explained
In its simplest form, relative strength (in regards to the deadlift) means comparing the amount you can lift with how much you weigh. Within the S&C world this method is seen as a more definitive identification method of exactly how strong someone is, by comparison to simply listing how much weight you can lift – since it is all relative to exactly how heavy you are as an individual.
If you’re still unsure of exactly what ‘relative strength’ is in regards to the deadlift then please view our advice article below:
Relative Strength Deadlift Guide

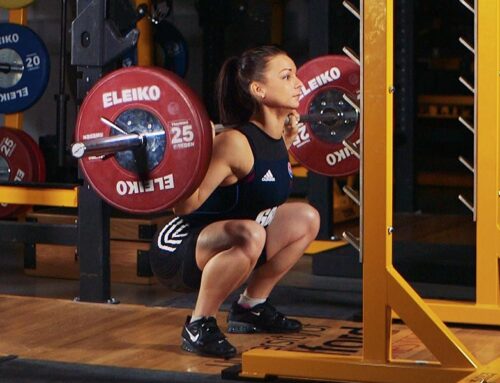
The Setup
The set up will start with your approach to the bar. Make sure to have yourself centred to the bar and adjust your stance accordingly.

Stance Width
The maximum stance width for the deadlift assessment will be ASIS over 2nd toe or hip width.

Overhand Grip
Once you have the bar positioned just above the midpoint of the foot you will need to squat down and take a double overhand grip of the bar.

Grip Width
The hands should be positioned just outside of the width of the shoulders making sure that the forearms are not pushing the knees inward.

Knee Position
The knees themselves should be slightly forward of the bar and tracking in line with the toes.

Shoulder Position
The shoulders should also be slightly in front of the bar.

Hip Position
The hips will be slightly higher than the knees and the spine in a neutral position with the head up and eyes looking forward.

Shoulder Blades
The last thing to do is retract the shoulder blades and you’re ready to go in the set up position.

Pull Phase
You will then enter into the pull phase; this will mean the commencement of the upward motion of the deadlift.

Engage the Muscles
This will start by engaging the muscles around the hips and the knees to extend both to initially lift the bar from the floor. The hips should not raise before the chest and shoulders.

Bar Proximity
Keeping the bar as close to the body as possible at all times this will mean that the bar path follows that of the path of least resistance.

Body Position
You want to move the body out of the way of the bar rather than move the bar around the body in order to have the most effective and efficient lift, which will mean you, will be able to move more weight.

Neutral Spine
You will need to keep a neutral spine throughout the movement; any compromise of the spine will result in an unsafe attempt. During this phase be sure to brace the trunk musculature.

Raise the Bar
Raise the bar past the knee and up the thigh until both the knees and hips are fully extended.

Shoulder Position
At this point the shoulders should be positioned directly above the hips or within a 5-degree range of motion either anteriorly or posteriorly.

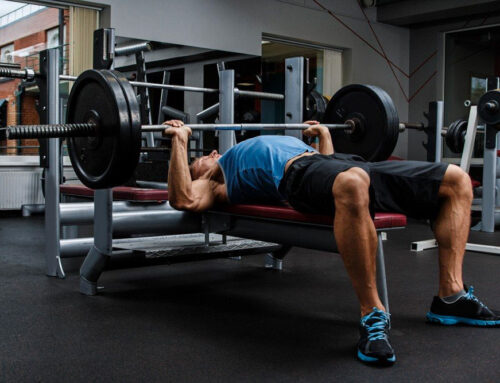
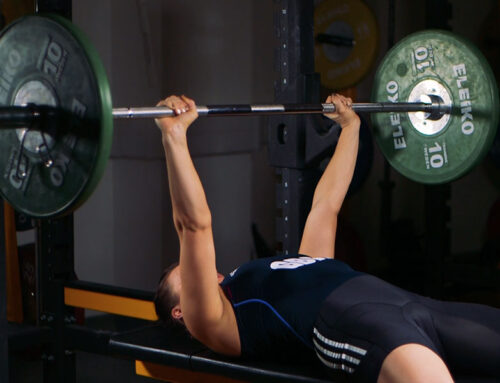
The Lift
The lift must be performed in one smooth, fluid motion for upmost safety.

End Position
Once in the end position, you may now release the bar. For safety we always advise dropping the bar instead of placing it back down on the floor – as long as you are using professional equipment this will not damage the weights or bar.
Safety Notes

Footwear
The most ideal footwear for the deadlift should be ideally flat soled, stable and appropriate – ideally a weightlifting shoe.

Clips or Collars
We recommend using clips or collars for each deadlift to maintain safety – and be sure you know the load and are confident before lifting.